3D-Printed Check Sockets vs. Traditional: What CPOs Need to Know
Switching to a digital workflow doesn't mean discarding your expertise. Practically speaking, it's about understanding how this method impacts your workshop, what habits you'll keep, and how to integrate it without disrupting everything.
The role of a check socket
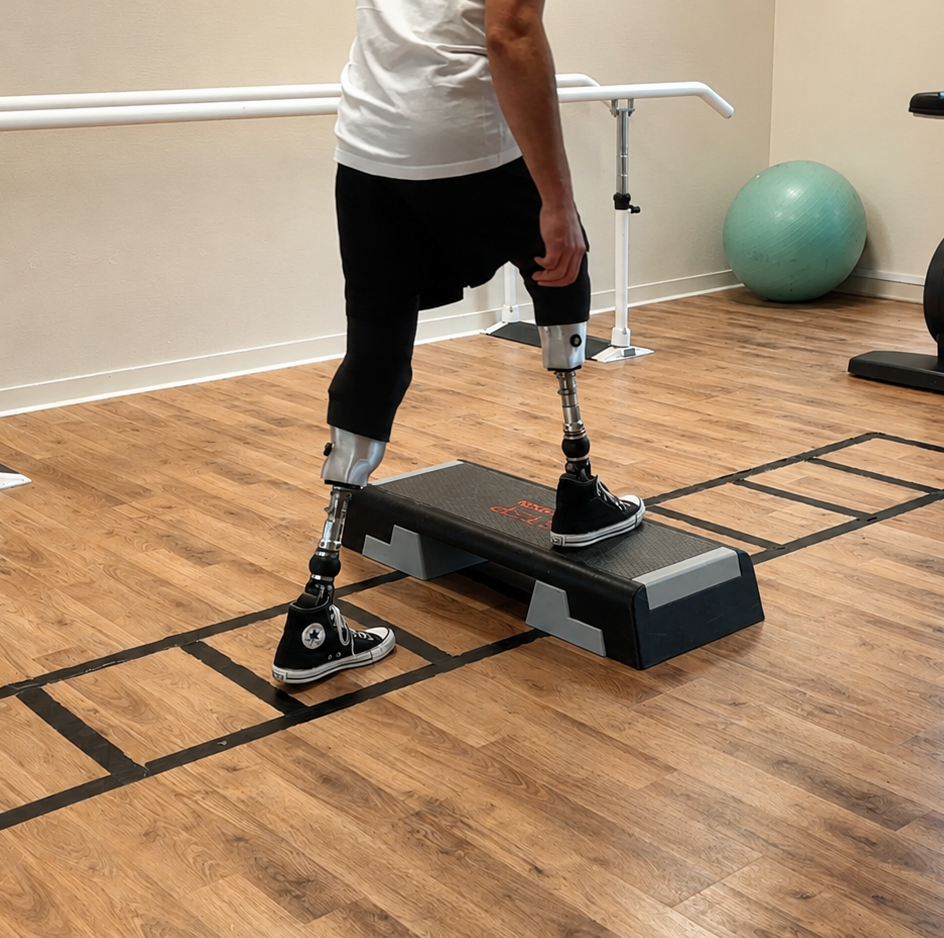
The goal of a check socket remains unchanged: validating the socket shape, suspension, and alignment before committing to the definitive socket. The real difference between the two methods happens in the O&P lab, in the material's behavior, and during the transition to carbon fiber lamination.
Fabrication time & workflow
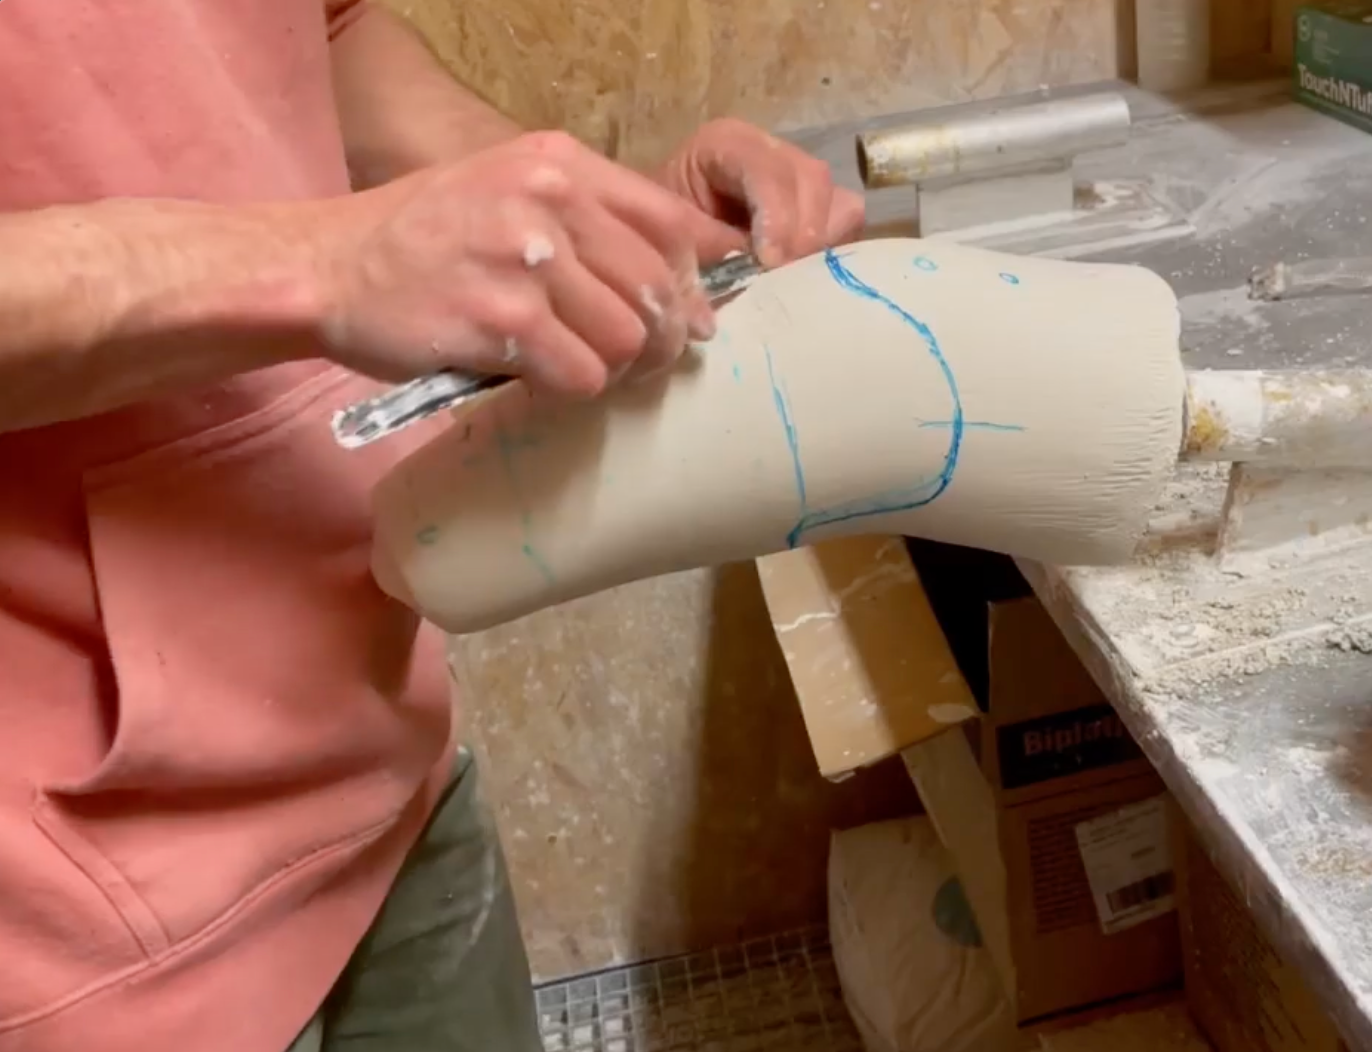
- Plaster method: casting, setting time, stripping the cast, positive model modification, and thermoforming. Between prep and clean-up, it easily monopolizes half a day of workshop time.
- Digital method: a quick scan and CAD modification on screen. Through VYTRUVE central fabrication, the socket is delivered in 72 hours as standard, or 48 hours express on transtibial and upper limb. With an in-house 3D printer, a print started in the evening is ready for the diagnostic fitting the next morning.
Materials & clinical fitting
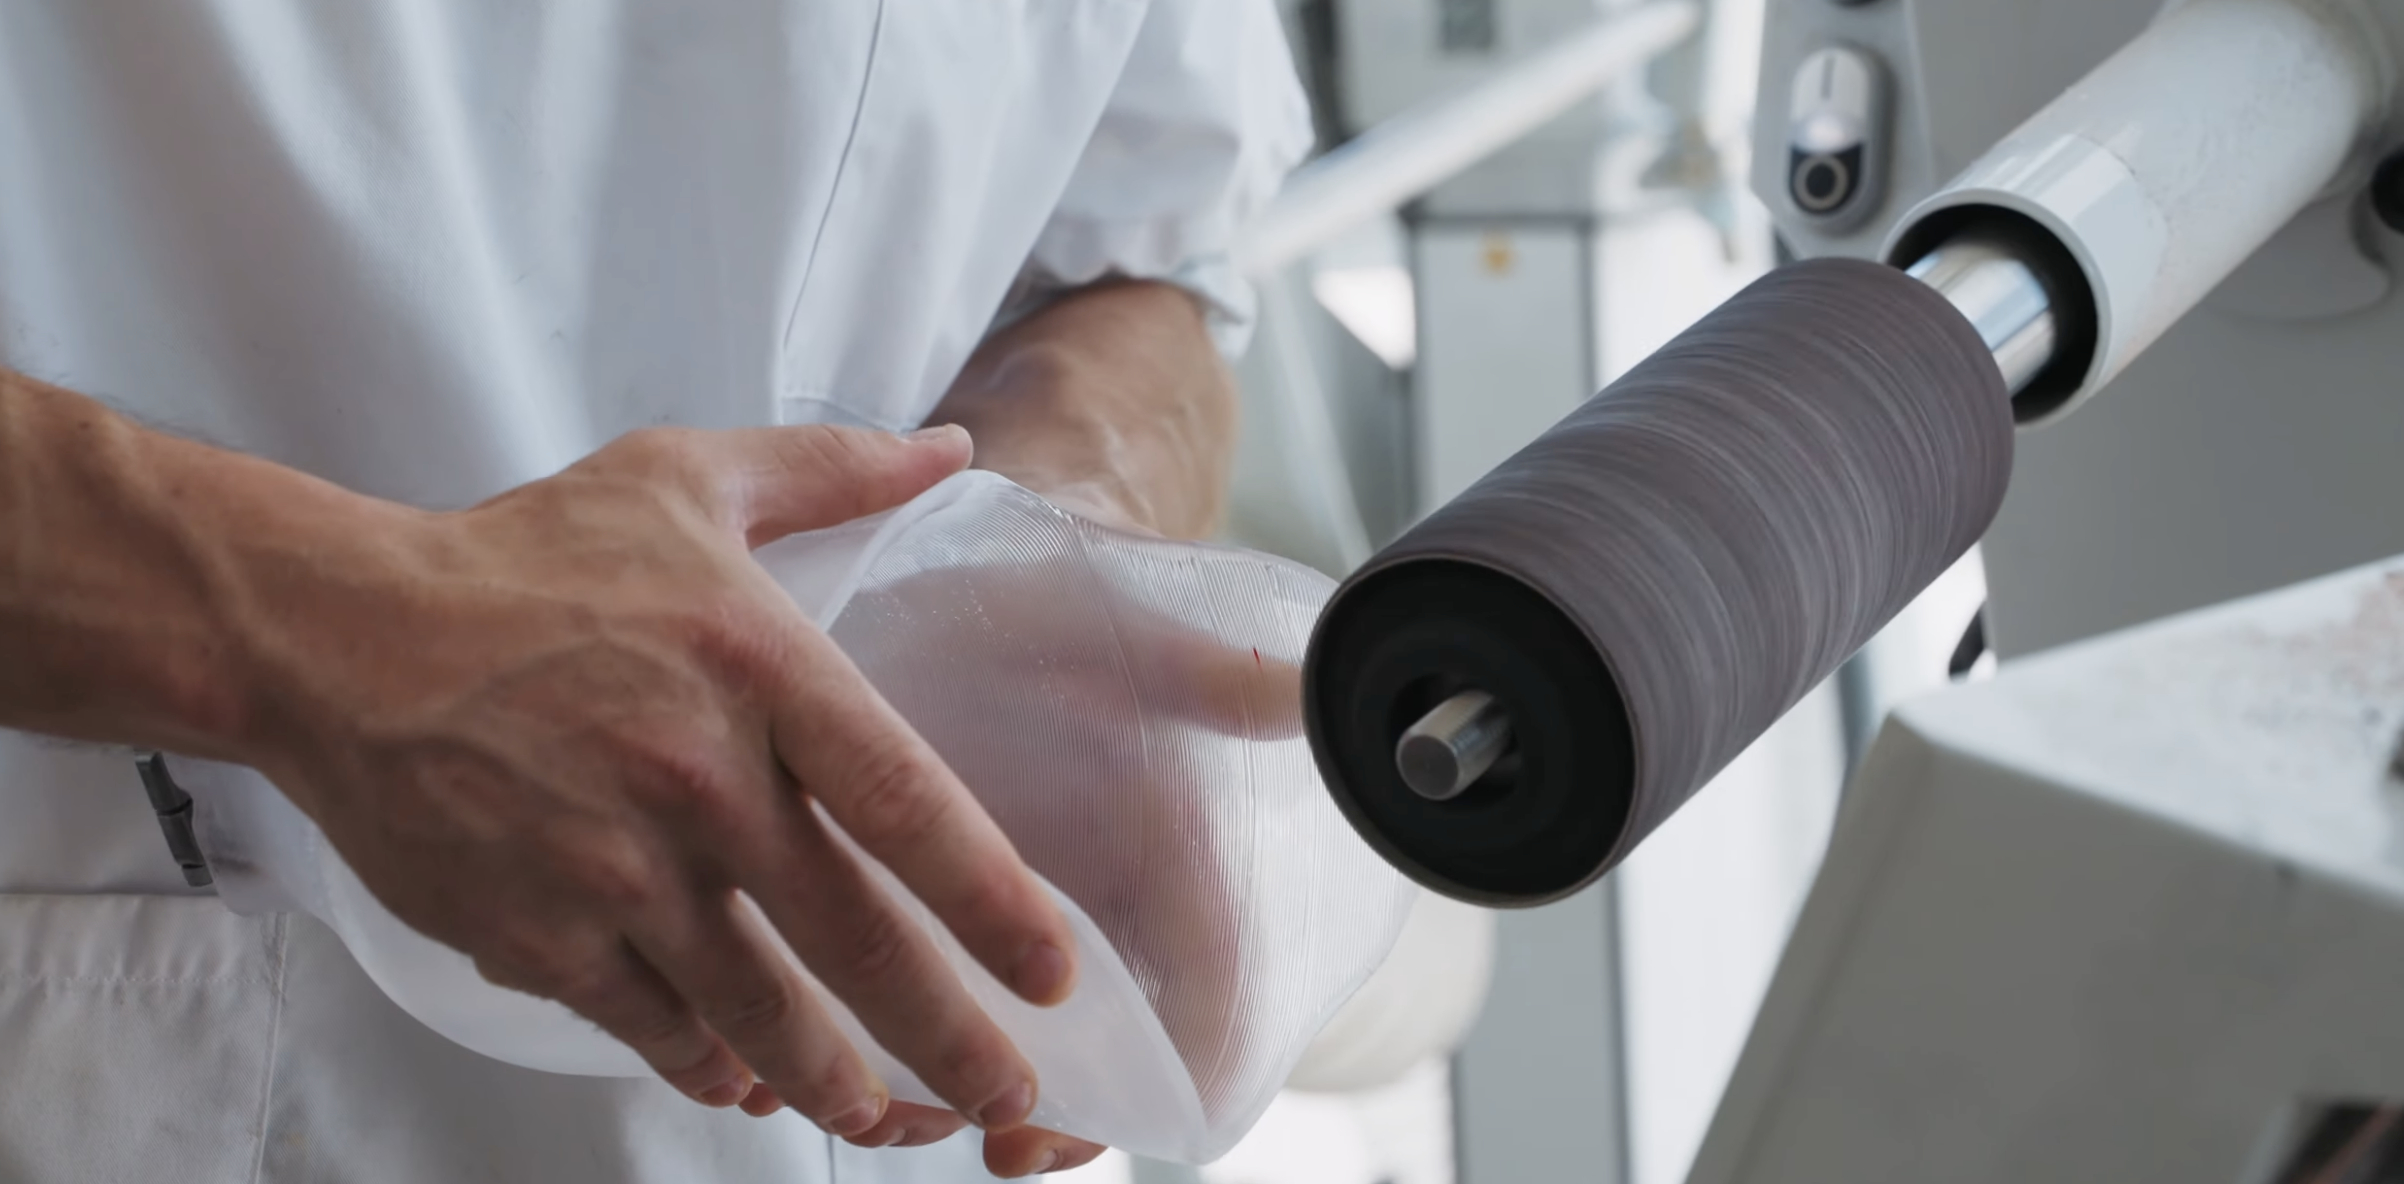
- Plaster (PP/PE): standard thermoforming. Clear versions allow visual evaluation of skin contact and pressure distribution.
- 3D (PETG via FDM): the printer replicates your modified model layer by layer. PETG offers better impact resistance than standard polypropylene and a stiffness closer to a definitive socket, so the patient's feedback during the fitting is much more representative of the prosthesis's final behavior.
Both materials react to heat in the same way. If an adjustment is needed during the clinical fitting, PETG can be easily modified with a heat gun, exactly like standard thermoplastics.
Accuracy & modification tracking
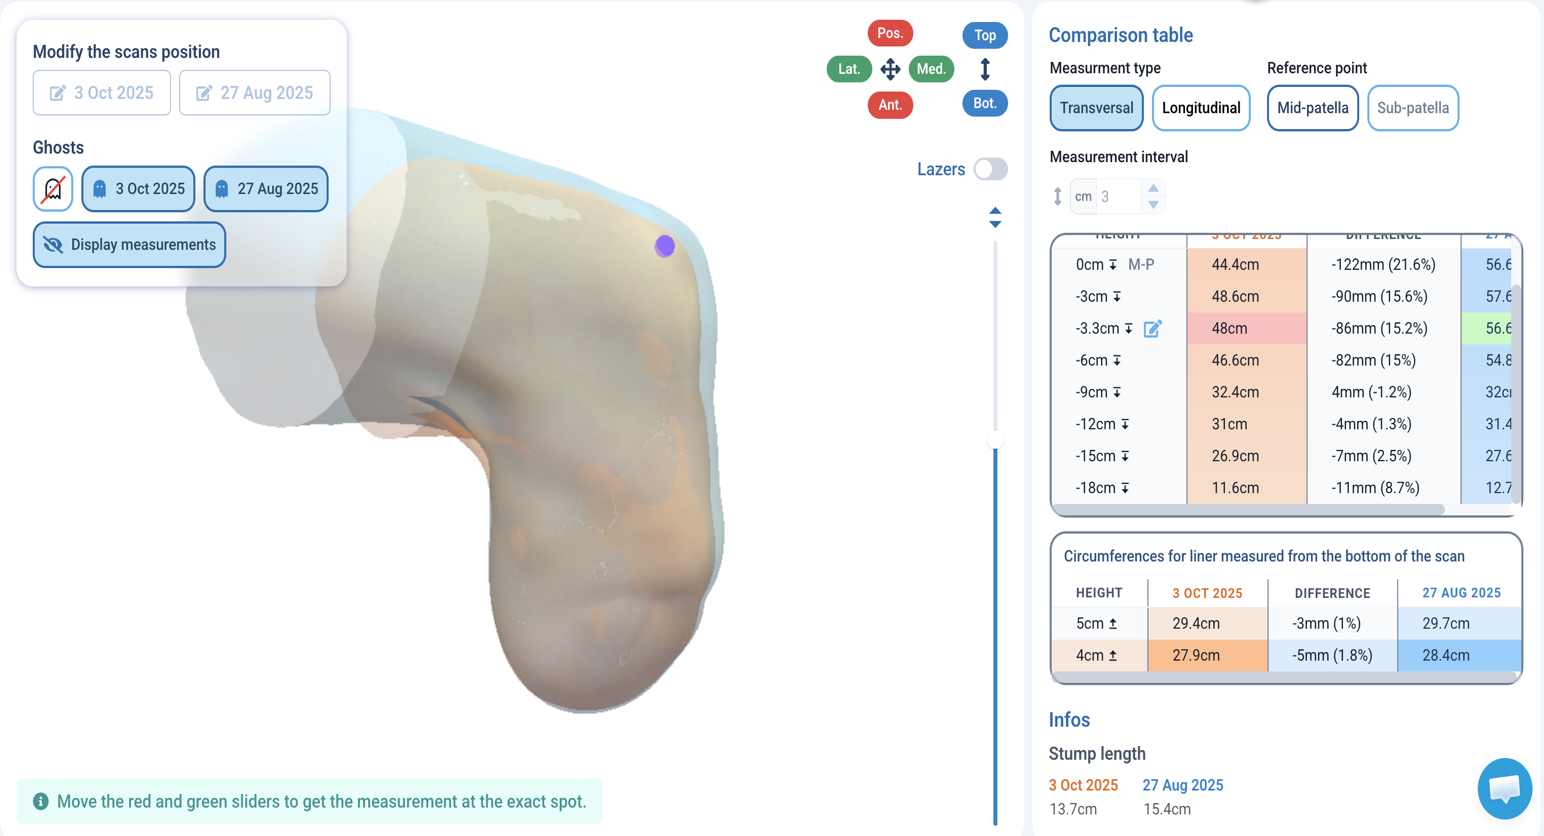
With plaster, accuracy relies on hand skills: each step introduces a margin of interpretation. In the digital workflow, a good scan provides a precise baseline. If you need to manufacture a new socket after a fitting, you never start from a raw positive again. The software gives you three clear options:
- Start over from the original scan for a new approach.
- Reopen your last CAD modification and apply corrections directly, a massive time-saver.
- Reprint an identical socket.
From check socket to definitive: the transition to carbon
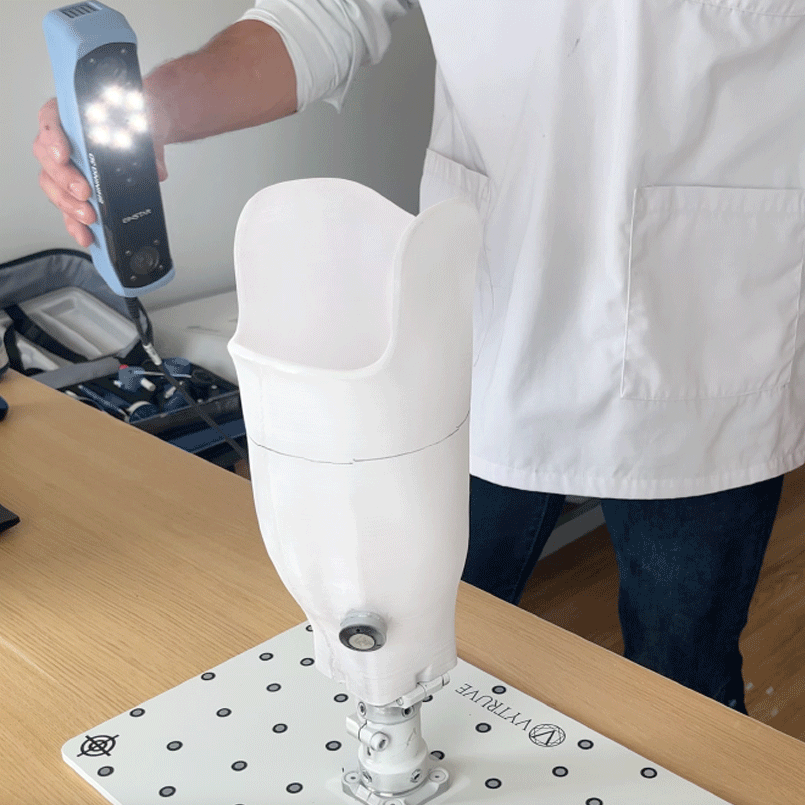
This is where the digital workflow really pulls ahead. With the Vtransfer process, you scan the validated check socket directly on its transfer plate. The system captures the exact internal volume and the dynamic alignment, then generates a PETG positive model and an alignment guide to replicate the alignment perfectly during lamination. No wet plaster, no oven time, no plaster positive to chip away, and the patient keeps their check socket throughout the fabrication of the definitive prosthesis.
Costs & materials
- Plaster: low material cost, but high labor cost and waste generation.
- 3D printing: zero waste; you use material down to the gram. A transtibial check socket through VYTRUVE central fabrication starts at €150 excluding tax and shipping. With an in-house Vprint, the unit cost drops to roughly the price of the filament.
Summary
3D printing provides measurable benefits in fabrication time, consistency, and streamlines the transition to the definitive socket. Today, most prosthetists who adopt this method ultimately make it their standard daily fabrication workflow.